dog

Using a collapsible background to make a home photography studio St. Petersburg Florida

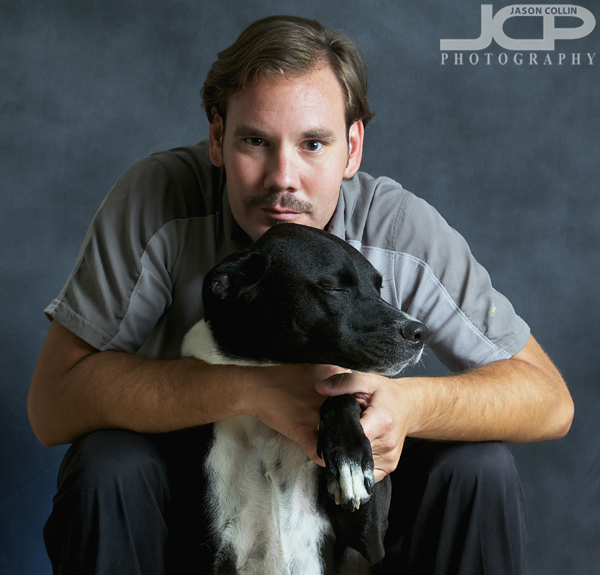
Kiki & I in a self-portrait featuring my new Botero Collapsible Background - Nikon D300 Tamron 17-50mm @ f/5.6 ISO 200 1/60th - Strobist: SB-800 in brolly to frame right & SB-600 pointed up at background with blue gel and HONL snoot (open)I am always looking to improve the range and quality of photography products I can offer to clients.  In the pursuit of this I invested in a collapsible photography background (view on bhphotovideo.com) that measures 5'x7' is neutral to dark gray and folds up like a car sunshade into a circle when not in use.  Such a background allows one to setup a small studio space virtually anywhere, including your own living room.  
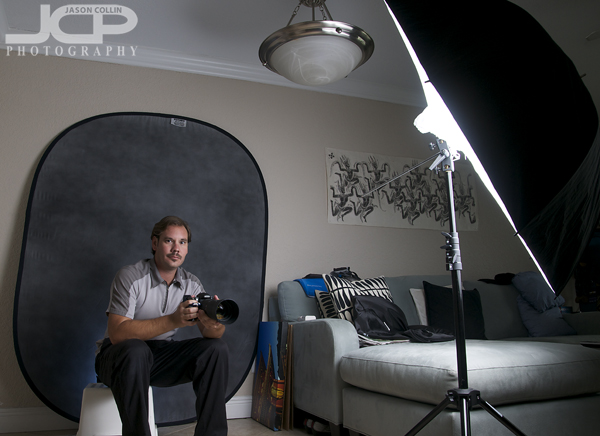
My new home studio setup featuring a 43" brolly on a light stand, 5'x7' collapsible background & gelled speedlight (behind me)The collapsible background does not require any special holder or stand.  I simply took a canvas print off the wall and rested the background up against it.  It took a little fiddling and flipping it over to get it to stay in the space I wanted it too, but all-in-all a pretty easy setup.  The background is easily big enough for two people, and maybe three or more depending on how they are posed.
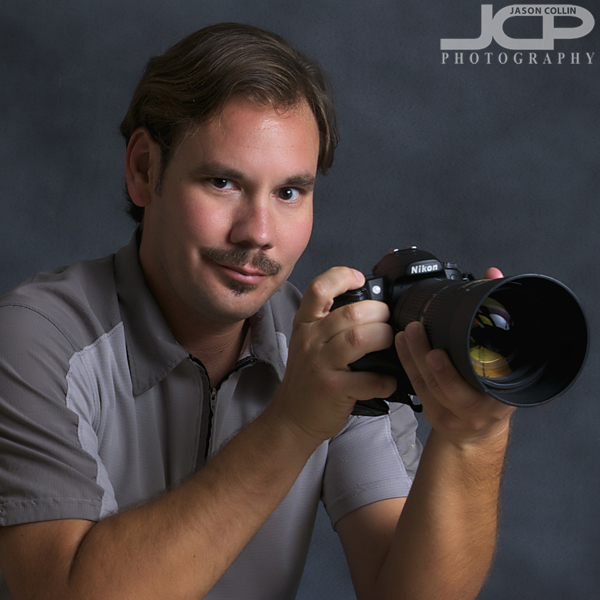
This self-portrait headshot took MANY takes to make!If you like to make portraits and do not have the space to maintain a dedicated photo studio in your home, then my photography tip is to invest in a collapsible background that can be used in any room in the house and easily taken over to the homes of friends and family too.

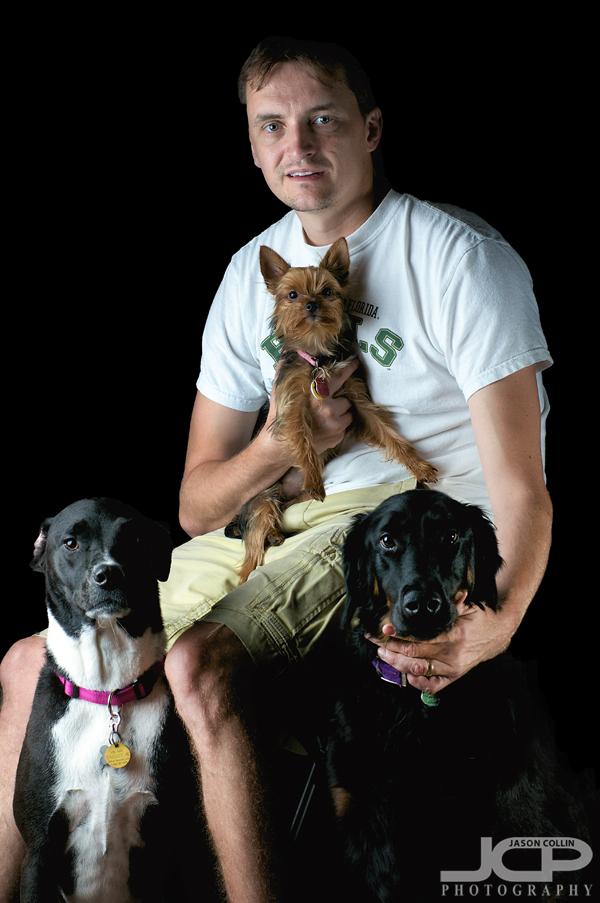
Strobist fun with friends & dogs

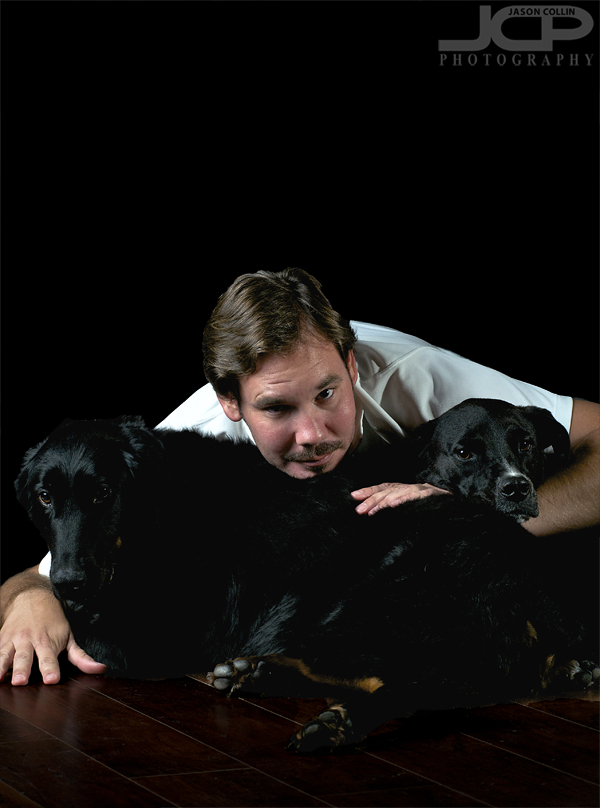
Terry holding his dogs Lucy & Sadie with my dog Kiki frame left - Nikon D300 Nikkor 80-200mm @ f/8 ISO 200 1/250th Strobist: SB-800 in brolly to frame left & SB-600 on a chair to frame rightOn a recent visit to eldest friend Terry's house I brought with me a good bit of my strobist portrait gear planning to make some images of us with our dogs.  This involved not only getting the lighting and logistics correct for shooting in his living room, but also giving Terry some quick tips for how to shoot using my Nikon D300.  Once I got the above image of him with my dog Kiki and two of his three dogs, we switched players and I began coaching Terry how to first focus on my eyes and then recompose all while holding down the shutter halfway and shooting from a position lower than my eye level.  He learned fast, which should not be surprising as he was the valedictorian of our high school class after all!

Yours truly with Kiki & her best friend Sadie - Terry pushed the shutter on this one - Nikon D300 Nikkor 80-200mm @ f/8 ISO 200 1/250th Strobist: SB-800 in brolly to frame left & SB-600 on floor to frame rightHere is the image Terry and I created together.  This is all without mentioning the random element of the dogs and their movements, who were actually rather stoic for them.  Once Sadie laid down I got Kiki to come in behind her and I just rested on both of them, Terry was in position, and boom, we got the above shot.

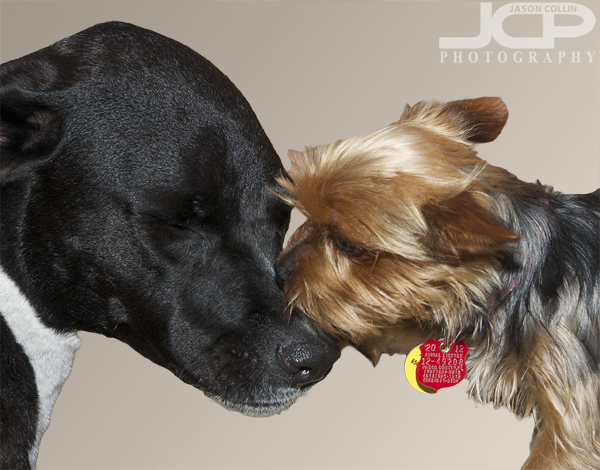
Lucy kissing Kiki - background added digitally - Nikon D300 Tamron 17-50mm @ f/8 ISO 800 1/60th SB-800 hotshoe mountedLucy was hanging off the sofa with peoples' legs in the background for the above shot, but I liked the kiss Lucy was giving Kiki so I took both dogs out of that busy background and then using Photoshop painted in a color sampled from Lucy's own hair color with a slight gradient added as the final touch to the digital background.

All these shots were done in just a few moments of time, just a fraction of the time we were there, but now thanks to a little photography know-how we will always have these memories of our dogs together.  

Vinoy Park Pet Portrait with Beth and Logan dog St. Petersburg

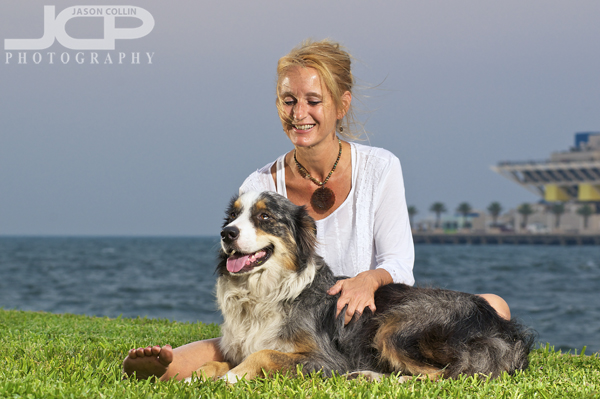
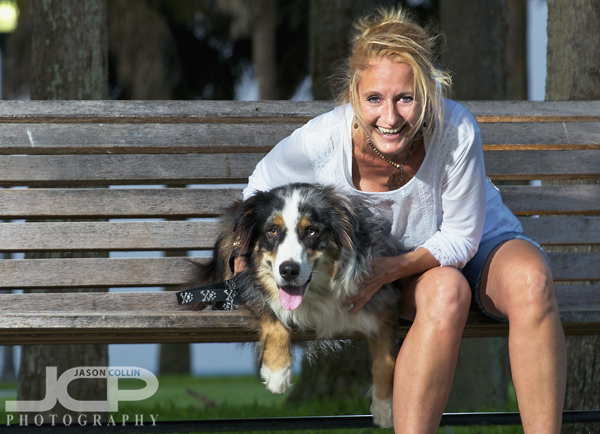
Beth & Logan in Vinoy Park for their human & pet portrait session - Nikon D300 Nikkor 80-200mm @ f/7.1 ISO 200 1/100th Strobist: SB-800 @ 1/2 power to frame right SB-600 @ 1/4 power to frame leftOn a blustery evening I met long-time dog park friend Beth and her Australian shepherd Logan for a dog and human candid portrait session.  As I have written about before, it is much different when working with a client you already know, in fact I would go so far as to say it is nearly totally different.  We started out with The Pier and Tampa Bay as the background. 

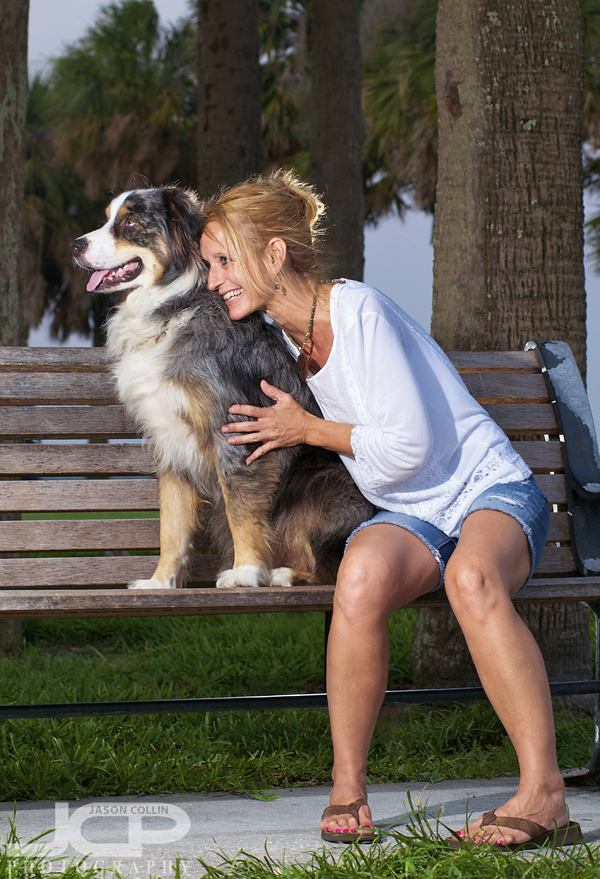
Candid pet portrait with Beth & Logan dog - Nikon D300 Nikkor 80-200mm @ f/7.1 ISO 200 1/60th Strobist: SB-800 @ 1/2 power to frame left SB-600 @ 1/4 power behind benchNext we went over to the bench with the best view in all of downtown St. Petersburg.  From it you can see the entire downtown skyline with a fantastic sunset view on most evenings.  Logan, however, was much more interested in passing inline skaters than the view!

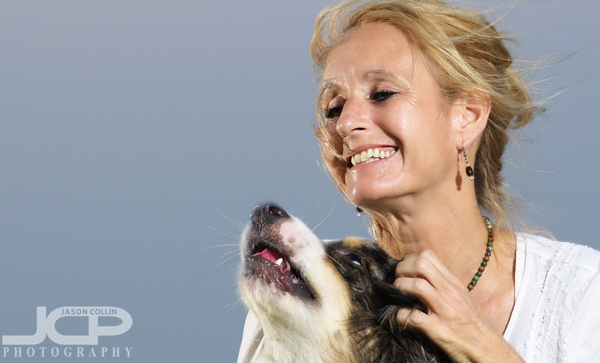
Candid smiling pet portrait with Beth & Logan dog - Nikon D300 Nikkor 80-200mm @ f/7.1 ISO 200 1/60th Strobist: SB-800 @ 1/2 power to frame left SB-600 @ 1/4 power behind benchIt was way, way too windy to use any light modifiers besides a couple of diffuser caps on my speedlights.  For this shot I placed one on a lightstand to frame left and the other on a tripod directly behind the bench.  I used my trusty Nikkor AF ED 80-200mm f/2.8D lens for all these shots.  The wind though did have one benefit, that being keeping temperatures very tolerable and actually rather comfortable, even for me shooting and scurrying about setting up the shots.  

Beth & Logan all smiles in Vinoy Park - Nikon D300 Nikkor 80-200mm @ f/5.6 ISO 200 1/100th Strobist: SB-800 @ 1/2 power to frame right SB-600 @ 1/4 power to frame leftIt was a lot of fun to make these photographs for Beth and Logan.  By nature a portrait session including a dog has to be candid so for me it was just a matter of getting my lights where I wanted them and letting Beth enjoy spending time with Logan and pushing the shutter.

Removing the photograph background but preserving foreground details for depth

In an attempt to further refine my own skills with using the "Refine Edge" function in Photoshop's Quick Select tool I made the above photograph of Kiki right here in the living room.  I knew beforehand I would be removing the background and painting in a new one.  I have really started to like using this technique lately, especially when adding a pure white background.  However, when including a full view of the subject, replacing the entire background be it with all white or any other color a lack of depth can result as the foreground and background are exactly the same.  As you can see in the finished version on the right some shadow and light remain on the floor around Kiki's paws.  After doing my usual edits to the image, the process I followed for making the digital backround was thus: 

  • Quick Select the floor area only & increase its contrast
  • Using the Eye Dropper tool select a color from the increased contrast floor (gray-ish in this case)
  • Increase the area Quick Selected to included everything except Kiki herself
  • Using the Brush tool at 100% paint the background up until the edge of the floor
  • Change the opacity to 40% and paint the floor area until a uniform gradient appears 

In am happy with the process I used to make the digital background in this case, but I would like to improve the smoothness of the gradient/transition of the background to foreground even more by using every smaller opacities to brush it in.

The finished final image of Kiki with gray background added in Photoshop leaving floor light and shadow for depthAlas there is no editing I can do to make Kiki not look like a sad puppy.  This was right before our usual dog park time and I think she was wondering why do I have to sit through this when we could already be on our way to the park!  Next time I will attempt her portrait in the morning.

Get images like these of your dog or cat or pet done right in your own living room . . . contact Jason today to reserve your shoot!

Hillsborough River State Park Relaxing with Canine & Human Friends

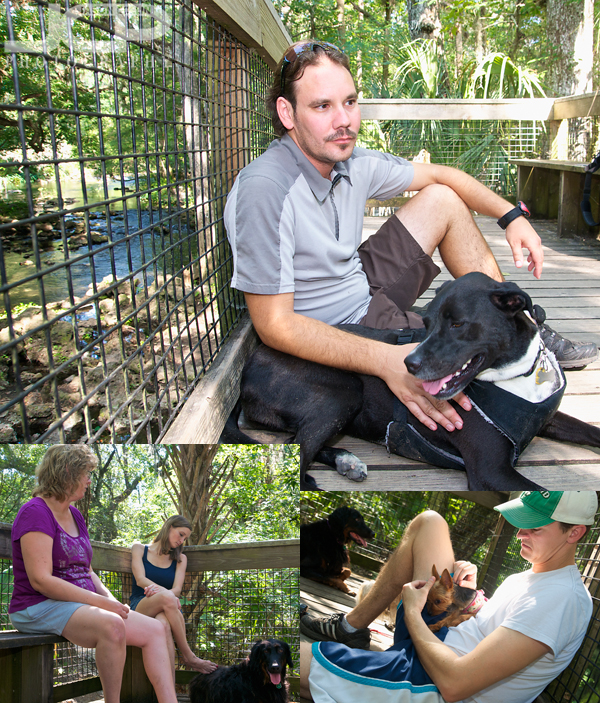
Relaxing at Hillsborough River State Park with canine & human friendsIf you make the effort with your photography, you will be rewarded.  Sometimes that effort just comes from physically lugging your gear with you when you might feel like just leaving it at home or in the parking lot.  I met some canine and human friends yesterday at Hillsborough River State Park, a very dog friendly place that is also one of the best nature experiences in the Tampa Bay area.  Many parks do not allow dogs on boardwalks, but in HRSP they have free reign.  So four people and as many dogs were able to roam the banks of the Hillsborough River, walk through the slash pine forest and later relax hig above the river and just enjoy the view.  

Certainly it was a bit of an effort to carry my Nikon D300, Tamron 17-50mm lens and Nikon SB-600 Speedlight flash on this 2-hour trek, but not that much because I only brought one lens.  I knew ahead of time that the kind of shots I would want to make would require a wide lens.  So to save weight and my back I brought the minimum amount of gear to be able to make those shots.  Why bring the flash?  For fill light in all those three shots above.  They just would not have turned out as well exposed and lit without it.  

So since I made that bit of effort to carry that minimum gear with me, I will have forever visual aids to help me remember that afternoon spent with great canine and human friends.  

My photography tip to you is:  yes, do make the effort to bring your DSLR with you, but help yourself by bringing just the one lens you know you will use for the shots you want to make.

  • Read more photography tips
  • Reserve your own 1-on-1 DSLR Photography Lesson with Jason today!
  • Get great candid portraits of you and your dog! 
  • Kiki yawning studio like white background pet photography done in home

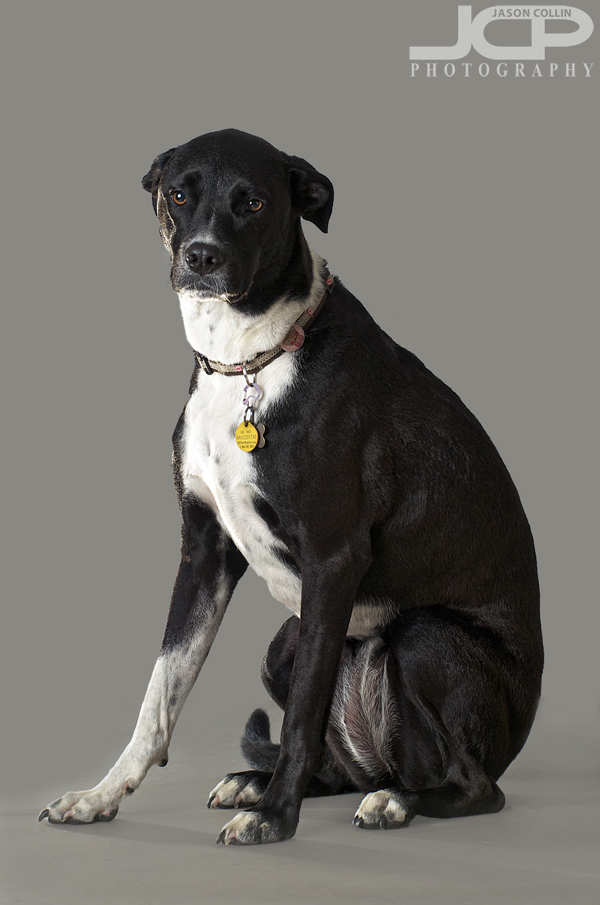
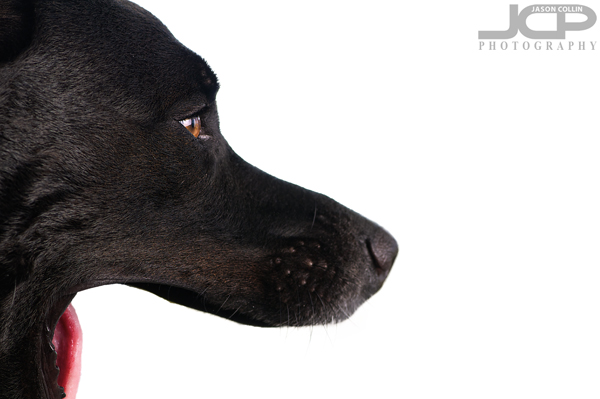
    Kiki's mouth opens too wide when yawning to even fit in the frame! - Nikon D300 Nikkor 105mm VR micro @ f/8 ISO 200 1/60th Strobist: SB-800 @ 1/4 power in brolly to frame rightI have been doing quite a few in-apartment photo shoots featuring white backgrounds added digitally lately of various subjects and inevitably when I finish them before I put my photography and strobist gear away I make a few photographs of beloved puppy, Kiki.  I cannot say she is always thrilled about this.  Her expression is usually pretty neutral.  This time I interrupted her naptime resulting first in a yawn then the look she gave me (see below).  

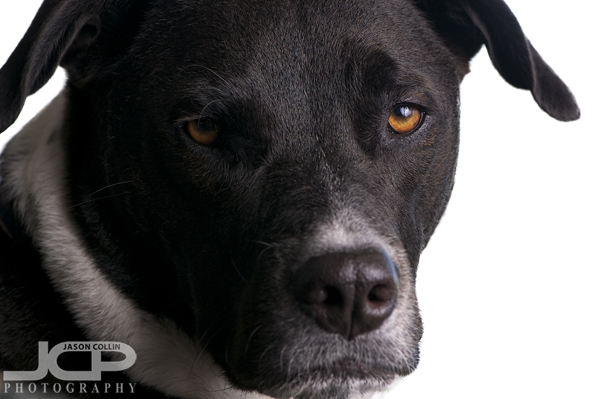
    Kiki looking very nonplussed as she usually does for photos - Nikon D300 Nikkor 105mm VR micro @ f/8 ISO 200 1/60th Strobist: SB-800 @ 1/4 power in brolly to frame rightSince these photographs were made in the close confines of my living room, and even though the great Nikkor AF-S 105mm VR micro f/2.8G macro lens makes great bokeh, the backgrounds were still a distraction, which is why I chose to do a Quick Select of just Kiki in Photoshop CS5 and then refine the edges and send that image onto a new layer (done automatically if you choose the right output).  I added a layer below Kiki, painted it white, and voila, a studio looking image of Kiki done right in my own living room, no mess, no fuss.

    Get images like these of your dog or cat or pet done right in your own living room . . . contact Jason today to reserve your shoot!

    Color Efex Pro 3 - Make Fake Autumn in the Park

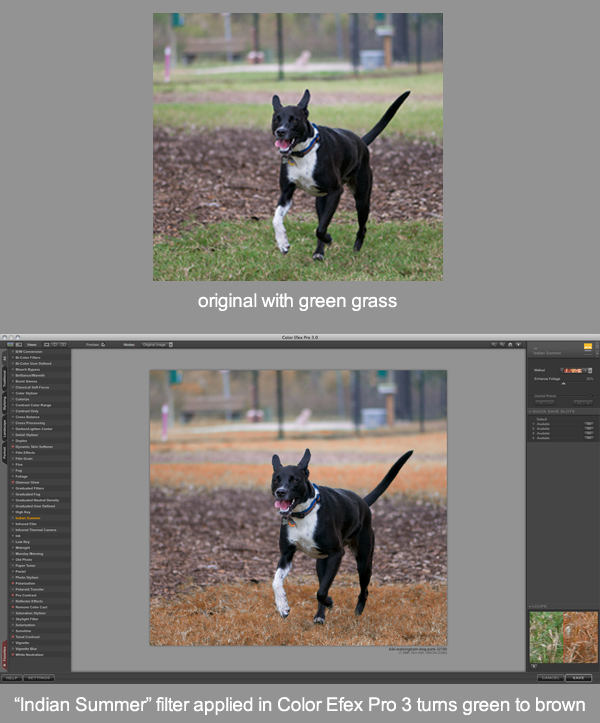
    Kiki running on grass turned brown by Color Efex Pro 3 - Nikon D300 Nikkor AF-S 105mm VR micro f/2.8G @ f/2.8 ISO 400 1/800thI really like that Florida is such a green and lush place nearly year round.  This, however, means there is a near complete absence of autum colors.  At Walsingham Dog Park last weekend, even though it was in the second half of November, all was as green as always.  However, as you can see, Kiki is running on brown grass.  This transformation was done with just one mouse click.

    I really recommend the plugin app Color Efex Pro 3.  I have it for Aperture 3 and use its filters on everyone of my photographs.  It is very easy to use wiht a list of filters on the left that are applied with a single click.  The effects can be modified down to very fine details if desired by using the fine tuning controls on the right column.  The "Indian Summer" filter does just one thing - turn greens to browns.  So with just the application of that single, simple filter, photographs can have that autumn look to them no matter what time of the year they were shot.

    Kiki at Walsingham Dog Park - Nikon D300 Nikkor AF-S 105mm VR micro f/2.8G lens @ f/4 ISO 200 1/500thThe green leaves that make up the bokeh of this shot were made to look like autumn colors once again by applying the "Indian Summer" filter in Color Efex Pro 3.  As you can see, Kiki's markings and collar retain their correct colors since none of them included green.