dog

Photography Tip - shoot at eye level to your subject

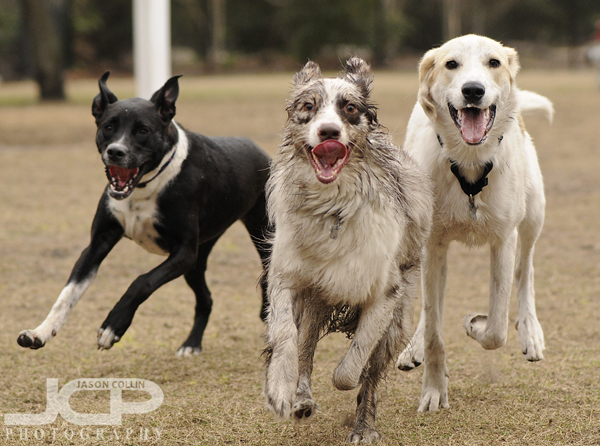
Seeing eye-to-eye with Kiki (left) and two friends. Shot from one knee at the same eye level as the dogs.One very easy way to start making photographs like a pro is to simply stop only shooting from your own eye level.  Getting down to the same eye level as your subject immediately transform a photograph, for the better.  I often see people in the dog park standing and shooting down on their dogs playing.  That will just show you what you already see when looking at your dogs, so why would you want to see a photograph of that?  Get down on one knee (or your stomach if you have a very small dog!) and suddenly you will see in photographs your dog from a very different perspective.  

In the above photo Kiki is running with two friends.  The expressions on their faces are all very clear and it looks like the dogs are looking right at the viewer of the photo in the eye.  This creates a connection to the subject of the photograph not possible if shot from me standing up over five feet in the air.

The next time you go out shooting trying taking a knee or even lying down to get to eye level and see a world from a new perspective!

Photography Tip - set DSLR Drive Mode to its fastest for action shots

One big differentiator between DSLR models is how many frames per second it can shoot.  10 FPS is fast, 3 FPS is not.  6 FPS is a minimum for being able to produce pretty good action and sports photography shots.  The faster the FPS of your DSLR, the better the odds are for you to capture the best moment in an action sequence.  Knowledge of the action type definitely helps, but ultimately a lot of it comes down to just being lucky enough to have had your DSLR capture that particular frame that looks the best, the coolest, the most dynamic.  

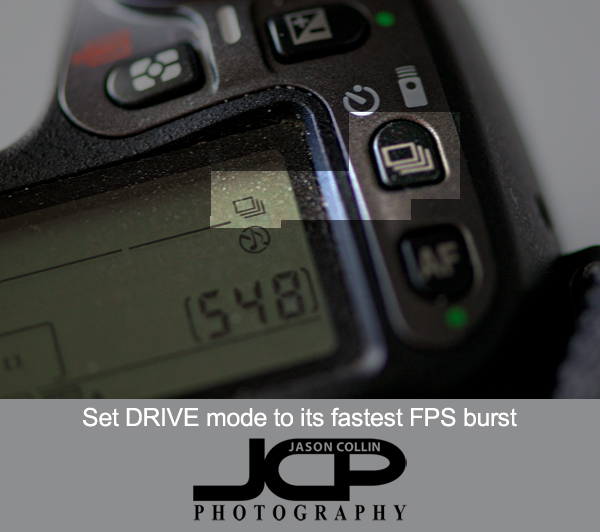
By default most DSLR will be set to take only a single shot no matter how long one holds the shutter down for.  For me, I always leave my Nikon in its faster FPS setting.  In the menus this is usually called the Drive Mode and its symbol looks like a stack of cards (see photo above).  Many DSLRs will have a button for changing this setting on the camera body.  My thinking for leaving it set to the fastest is you never know when something cool will happen and I much rather have 6 chances in a second of capturing it than one.  Of course I do not always hold the shutter down and take 6 FPS.  I have trained my finger to only actuate one shot each time I press the shutter if I only want to make one shot.  I have seen though that many newer model DSLRs have a very sensitive shutter button making this very hard to do.  Maybe those will eventually wear in and not be so sensitive.

If you find you are taking too many shots at once due to a sensitive shutter or other reasons, there is usually a second, less fast FPS setting you can use, without having to go to just a single shot setting.  When photographing the St. Anthony's Triathlon that was the drive mode I was recommended to use in order not to end up with too many shots of each triathlete.   

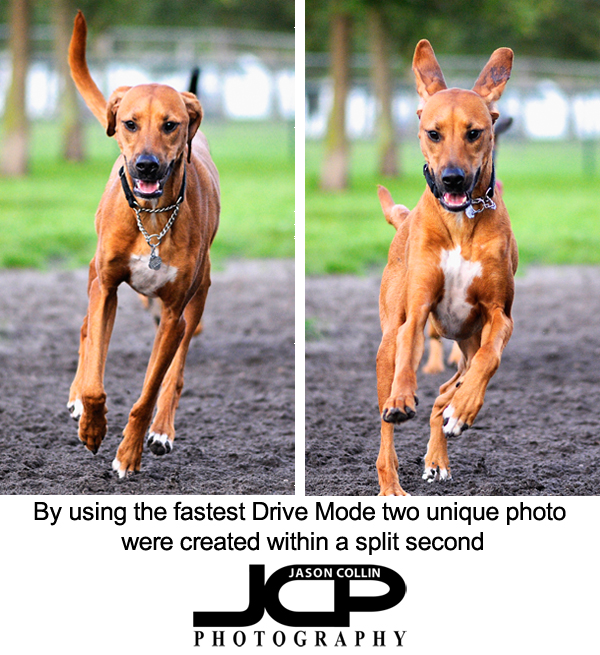
In the above dog photos these were made withing a split second of each other.  If I was trying to specifically get an ears up or ears down shot, I would never rely on having perfect timing to do it with one shot!  For sure I would use the fastest burst mode available.  This is definitely a case where you lock onto your subject and just hold the shutter down and hope the final frozen action of the subject looks good.  You use your skills to set exposure and focus, and to position yourself well relative the moving subject.  This minimizes how much you need to be lucky to capture good action shots.  Get your settings right, put yourself in good position, then hold the shutter down and hope you got just the right moment!  The faster your FPS, the better your chances.

Photography Tip - get close, then get closer for higher impact images

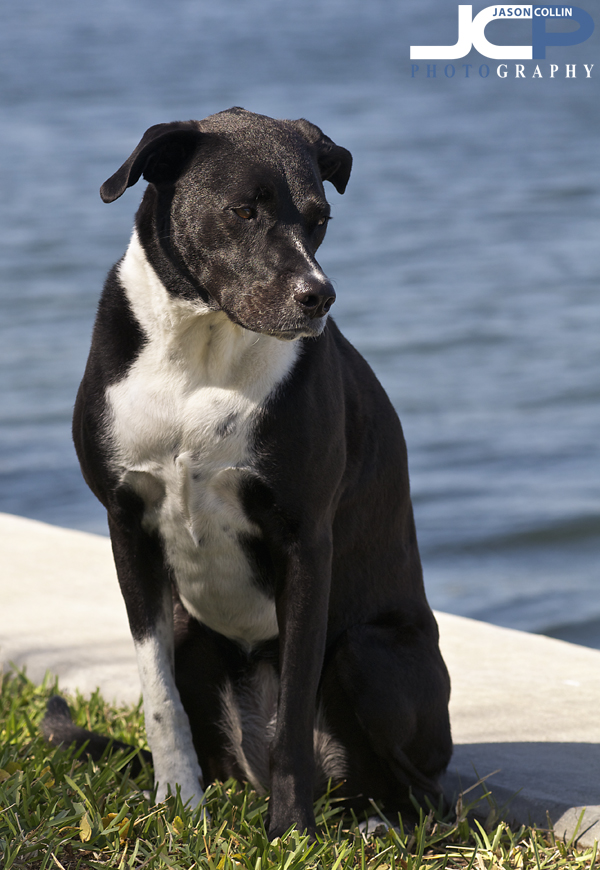
Getting in very close on this photograph of Kiki showing her viewpoint and thoughts.Getting in close to your subject is one way to immediately add more impact to the photograph.  Once you think you have gotten in as close as you should, try going in even closer.  This is especially true for portraits, as seen above in the portrait of Kiki seemingly in deep thought.  The framing only reveals her right eye and some of her head leaving all else a mystery to the viewer.  

It helps to use a macro lens to make this kind of shot.  Another good way is to use a long focal length (200mm+).  

Get close, and then closer even for group portraits to capture more emotion.The get close, and then get closer composition style also works for group portraits, not just single subject portraits.  In the above example showing the groom and groomsmen head to toe is a fine shot, but the viewer feels distant from the subject.  Zooming in and composing a much tighter shot reveals each person's individual character more and makes for a much more personal experience for the viewer.

Try getting much closer than you normally do in composing your shots and let me know in the comments below what the results were.

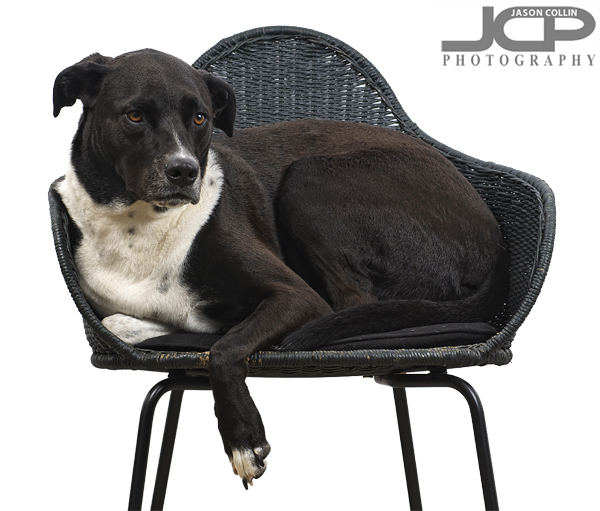
Unique Pet Photography - Kiki sitting upon her chair

Kiki fits snugly but somehow comfortably in her own chair in front of the window - Nikon D300 Nikkor 80-200mm @ f/7.1 ISO 200 1/125th - Strobist: SB-600 @ 1/1 power to frame left in shoot through umbrella and SB-800 @ 1/4 power to frame right in 43" brollyAfter making a headshot for a client in my home photography studio, while I had all the lights setup, I tried to coerce Kiki into letting me make a photograph of her.  She is very, very reluctant to do so for some reason being very resistant to the whole idea.  So this time I put her favorite chair in frotn of a white background (though later digitally edited for a pure white background) and had her curl up into it in her usual manner.  She spends a lot of time lying down like this staring out the sliding glass door beside my work desk.  

She was actually facing into the living room and not out the window, her distant look is just her trying to avoid looking at me and into the lens!

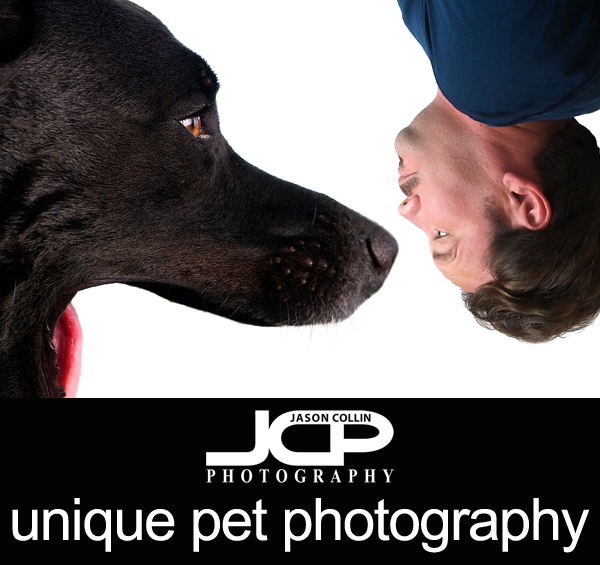
Unique Pet Photography - Kiki & Jason out of perspective

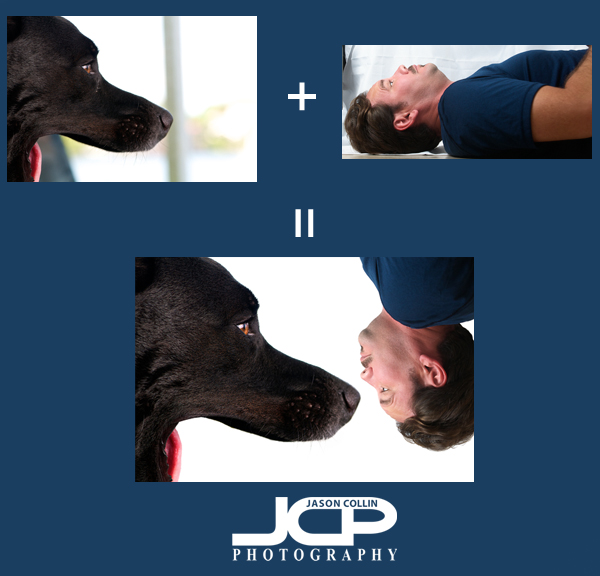
How can you make a unique photograph?  How can you push the bounds of what a photograph can be?  A single exposure, a single shot, that can create a great pet photograph no doubt.  However, it is limiting in just how unique a shot can be.  I am always thinking of ways to make unique and interesting pet photography shots, and photographs in general.  In the above composite photograph of me and my beloved puppy Kiki, I took a shot I made of Kiki over a year ago and combined it with a self-portrait I just made this afternoon.  Below is how I did it:

I already had the shot of Kiki edited onto a white background.  The original photo was mostly white in the background, but I still used the Quick Select Tool in Photoshop to cut Kiki out of it and then paint in a digital background.  I have that photo printed out and on a shelf in my bedroom so I see it every day.  It popped into my head recently to put myself into that image to make it appear that Kiki was about to swallow me.  There was not enough space under her upper jaw for me to really be seen, so instead I used a flipped self-portrait in a perspective showing me to be actually smaller than Kiki, adding to the uniqueness and strangeness of the final composite image.

Kiki's 4th Birthday!

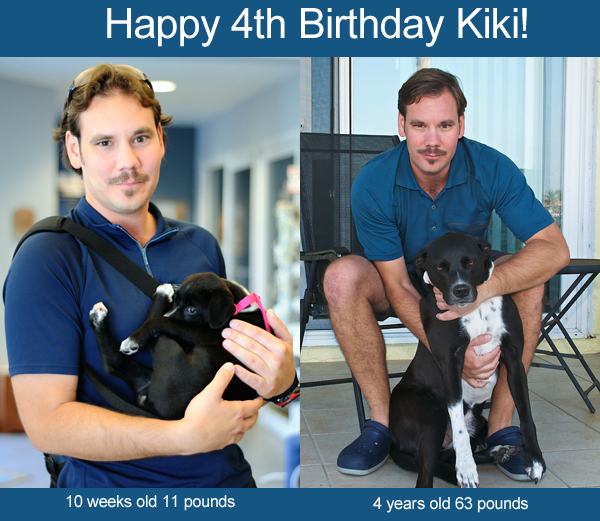
Kiki was born on February 19, 2009.  It is hard to believe that it is already 2013 and Kiki is now 4-years old!  On the day she was adopted, as you can see, she almost fit in just one of my hands.  Now she is full grown and hard for me to pick up even with two arms!  No matter how old she gets, I am sure I will think of her as my beloved puppy and call her a puppy, as I still do to this day.  I never feel prouder about anything I have ever done in my life than when someone complements how well behaved, how friendly or how sweet Kiki is.  

As she has gotten older, though, Kiki has become totally camera shy!

1-on-1 Canon T4i DSLR Photography Lesson on dogs with Nicole

I met Nicole this morning not at my usual downtown St. Petersburg spot, but nearby at Northshore Dog Park as she had a specific assignment from her photojournalism class to photograph dogs.  She will be taking my 1-on-1 DSLR Photography Lessons to help her with that class and to be better at photography in general.  With the shots I was able to help her make this morning I am confident she will show up with the best shots in her class!

As Nicole needed to get a couple of very specific shots, and the number of dogs in the park was not a constant, for this first lesson I mostly just had her jump to the right settings for photographing dogs in motion so she could get the shots for sure, and then filled in the details as we went along.  Despite the overcast skies and puddles, we were fortunate that there were any dogs there, and even more fortunate that there were very playful ones that allowed Nicole to capture the insane faces dogs make as they wrestle with each other resulting in dynamic shots with a shallow DoF as I had Nicole shooting in Shutter Priority mode at 1/500th and ISO 400 allowing for a well exposed and sharp shot.  

I was impressed with Nicole's physical shooting skills and her ability to stay low at eye level to the dogs for extended periods of time and produce consistent results, including level horizons.  I look forward to helpin her with her next assignment!