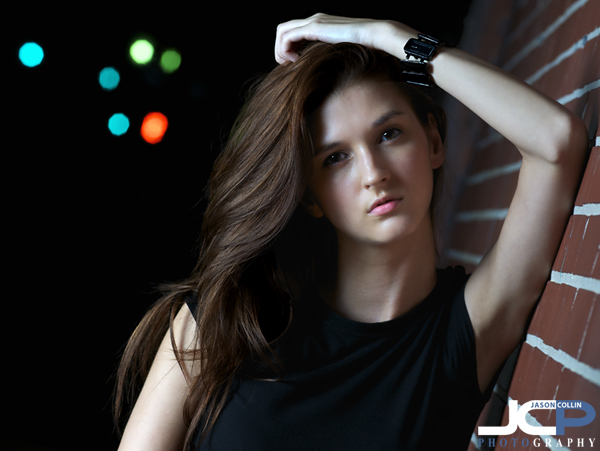
These are actually post office steps! The neon in the background is real, though modified - Nikon D300 Nikkor 80-200mm @ f/5.6 ISO 400 1/160th Strobist: Nikon SB-800 Speedlight @ 1/4 power in 43" brolly to frame left & Nikon SB-600 Speedlight @ 1/2 power with diffuser cap to frame left
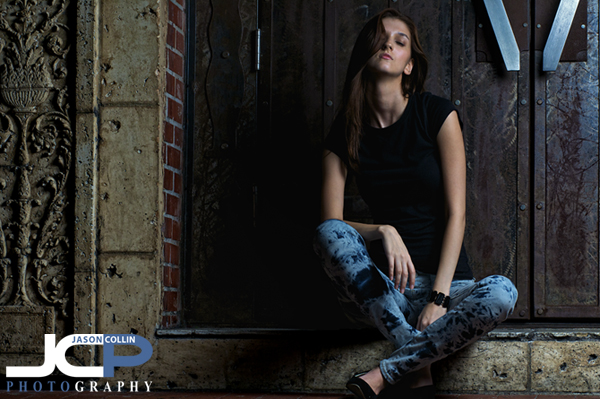
I cannot say I explicitily intended for my model portfolio shoot with Alexandra to turn into a film noir style, but through editing of the images it certainly turned out that way. We were shooting in the late evening from about 7:45pm to 8:25pm mostly around the Arcade in downtown St. Petersburg. The Arcade is a great location offering a variety of shot opportunities, especially at that late time of day with all its shadow opportunities. The above shot was actually the very last shot of the shoot. The background features the neon sign of a cafe across the street with the contrast selectively turned up so that only what is illuminated by my speedlights and the neon remain visible.
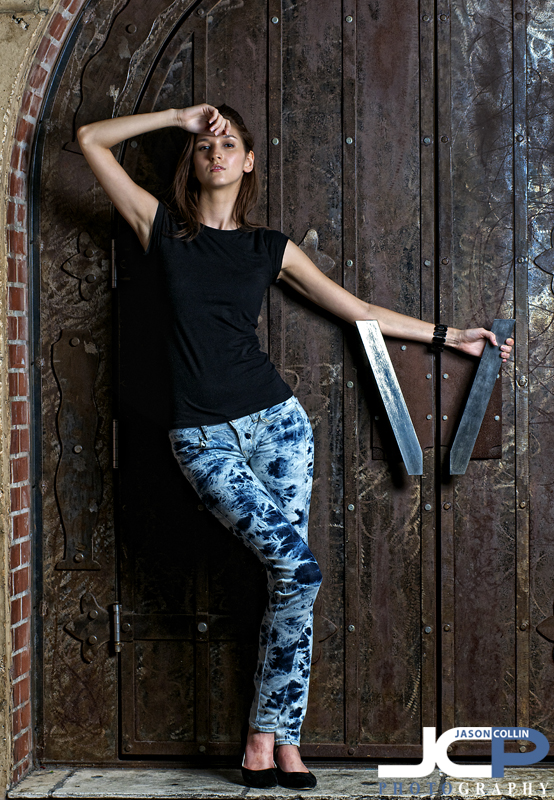
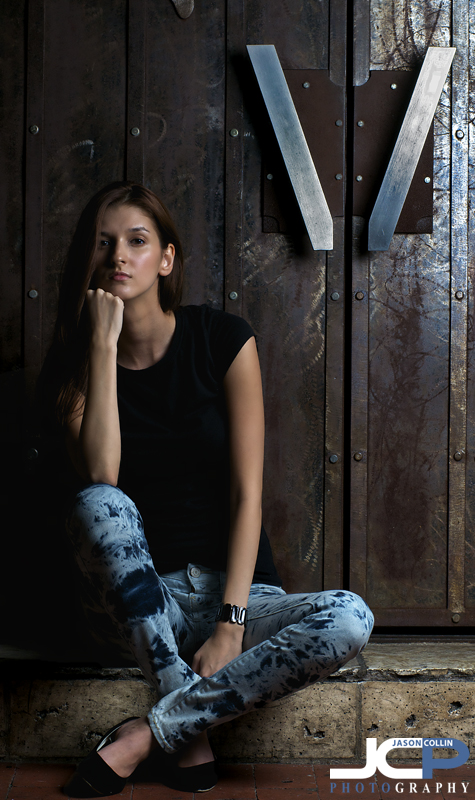
 Using long shadows created by a speedlight outside the gates - - Nikon D300 Nikkor 80-200mm @ f/4 ISO 400 1/160th Strobist: Nikon SB-800 Speedlight @ 1/8 power in 43" brolly to frame left & Nikon SB-600 Speedlight @ 1/2 power with diffuser cap to frame leftI chose the Arcade as a shooting location because of the great, very tall, ornate, iron gates. I knew they would make for a fantastic background and/or prop. For the above shot I placed a speedlight outside the gates to frame left in the alley to help cast long shadows in the foreground. I composed so to accentuate them. Alexandra came up with a great pose taking my one small suggestion to create space between each arm and her body, something I always make sure is set otherwise the model will appear to have a lumpy body or strange attached arm. Alexandra in fact did a great job overall allowing me to focus on creating mood and atmosphere with my lighting and composition.
 The 43" brolly creates soft shadows, I love it - - Nikon D300 Nikkor 80-200mm @ f/4 ISO 400 1/160th Strobist: Nikon SB-800 Speedlight @ 1/8 power in 43" brolly to frame left & Nikon SB-600 Speedlight @ 1/2 power with diffuser cap to frame leftThis shot features the same gates and lighting setup. Without the speedlight outside the gates providing backlight, the gate on frame right would appear dull and lack the reflective light on it. Additionally, the same speedlight provides rim light around the model, especially her hair, right arm and right side. A photographer can do a lot with just two speedlights positioned in key spots. I could carry all my strobist and photography gear that I used for this shoot myself, following the "lighten up and shoot" philosophy.
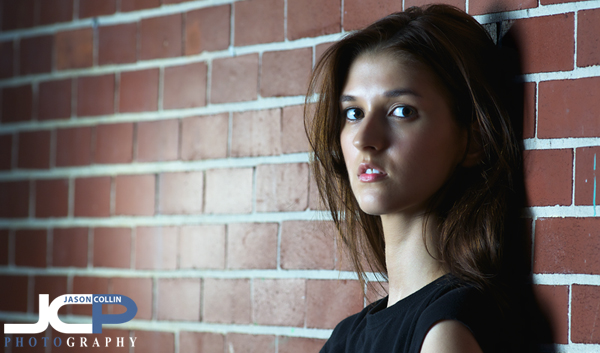
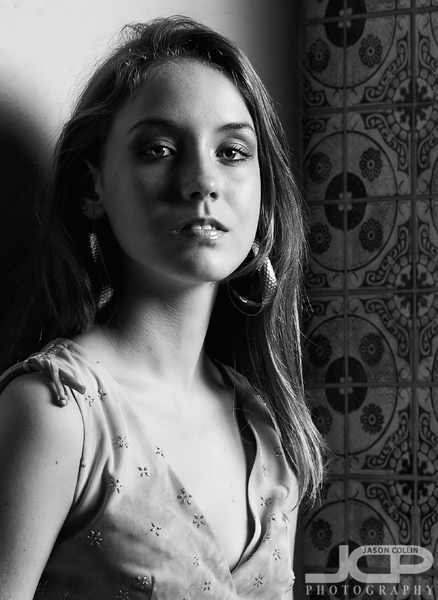 A single strobe setup with intentional background shadow - Nikon D300 Nikkor 80-200mm @ f/4.5 ISO 400 1/160th Strobist: Nikon SB-800 Speedlight @ 1/8 power in 43" brolly to frame rightThis shot is different than all the others in that it features only one speedlight positioned to create Rembrandt lighting (nose & cheek shadows touch leaving a little light under the eye) on the model. I wanted to include one soft feeling image in the shoot as most of the others were really strong from a posing and overall feel perspective.
Thank you again to Alexandra. You can follow her work on Model Mahem and Facebook.